RabbitMQ is a popular open-source message broker that allows applications to communicate with each other asynchronously. It supports various protocols and platforms, and can be easily scaled and integrated with other services.
One of the challenges of using RabbitMQ is setting up and configuring the service, especially in a distributed environment. Fortunately, Docker Compose can help simplify this process by allowing you to define and run multiple containers as a single service.
Docker Compose is a tool that lets you create and manage multi-container applications using YAML files. You can specify the configuration, dependencies, networks, volumes, and other options for each container in a single file, and then use a single command to start or stop the service.
In this article, we will show you how to use Docker Compose to set up a RabbitMQ service with a web-based management interface. We will also demonstrate how to send and receive messages using Python clients
Step 1: Create a Docker Compose file RabbitMQ
The first step is to create a Docker Compose file that defines the RabbitMQ service. Create a new folder for your project and open it in your text editor. Then, create a file named docker-compose.yml and paste the following content:
Explore My Other Channel for More Cool and Valuable Insights
👉 Youtube Learn Tech Tips👉 Tiktok
👉 Facebook:
version: '3'
services:
  rabbitmq:
    image: rabbitmq
    restart: always
    ports:
      - "5672:5672"
      - "15672:15672"
    environment:
      RABBITMQ_DEFAULT_USER: myuser
      RABBITMQ_DEFAULT_PASS: mypassword
This file defines a service named rabbitmq that uses the official rabbitmq image from Docker Hub. This image contains the RabbitMQ server and the web-based management plugin, which allows you to monitor and manage the service from your browser.
The ports section maps the ports 5672 and 15672 from the container to the host machine. Port 5672 is used for communication between RabbitMQ clients and servers, while port 15672 is used for accessing the management interface.
The environment section sets the default username and password for the RabbitMQ service to admin. You can change these values if you want, but make sure to update them in your clients as well.
Step 2: Start the RabbitMQ service
To start the RabbitMQ service, open a terminal window in your project folder and run the following command
docker-compose up --build -d
This command will pull the image from Docker Hub if it is not already present on your machine, create a container from it, and start it in detached mode. You can check the status of the service by running:
docker-compose ps
You should see something like this:
Name                Command               State               Ports
---------------------------------------------------------------------------------
rabbitmq   docker-entrypoint.sh rabbi ...   Up      0.0.0.0:15672->15672/tcp,:::15672->15672/tcp, 25672/tcp, 0.0.0.0:5672->5672/tcp,:::5672->5672/tcp, 4369/tcp
Step 3: Access the RabbitMQ management interface
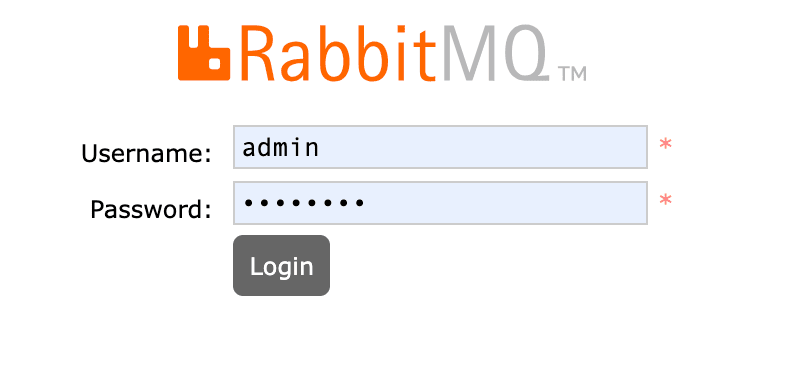
To access the management interface, open your browser and go to https://localhost:15672/. You should see a login page like this:
Enter the username and password that you specified in the Docker Compose file (admin/******* by default) and click on Login. You should see a dashboard like this:
From here, you can view various metrics and statistics about your RabbitMQ service, such as connections, channels, queues, exchanges, messages, etc. You can also perform various actions such as creating or deleting queues, exchanges, bindings, users, etc.


